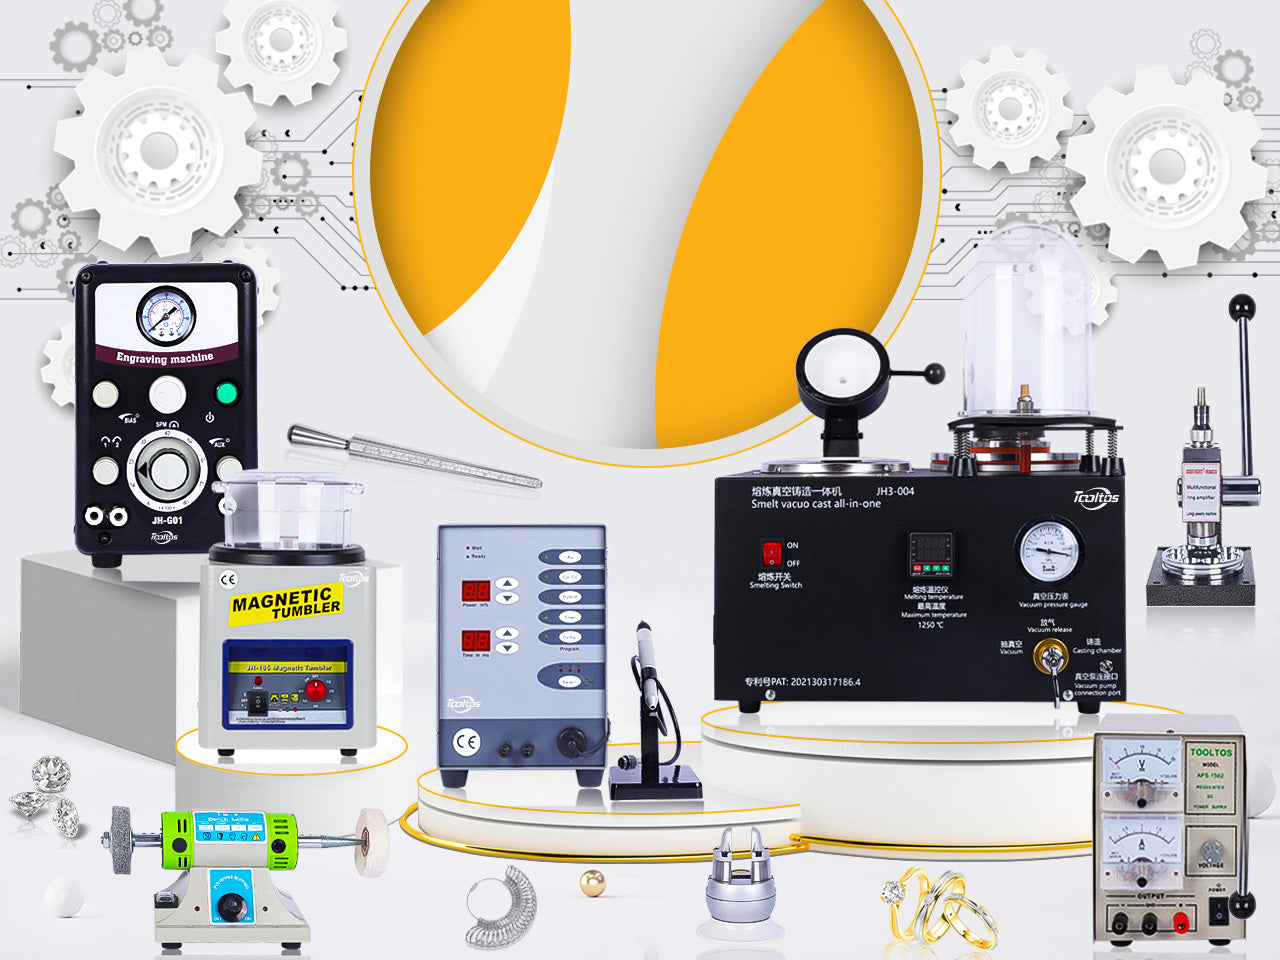
Achieving a beautiful finish is a crucial stage in jewelry making and can really make or break a piece of jewelry. Polishing can be daunting at first as there are many stages to go through to achieve a successful shine, to ease the pain of the polishing process we've rounded up some tips to help you achieve a flawless finish.
Pumice Powder
Pumice Powder is an abrasive powder that can be used wet, with a brush, or as a paste for metal cleanup before and after welding. Pumice Powder produces a clean, white, non-glossy, grease-free finish that allows you to see any marks or scratches that subsequently need to be removed. As a first pass after finishing a piece, it is ideal as it allows you to see which stage you have reached.
Please note, make sure the pumice residue has been completely washed off before moving on to the next stage.
Don't skimp on preparation
It is impossible to obtain a good polish without first removing scratches from the metal surface. This first involves continuous polishing with a file in one direction. As with all polishing processes, it is always a matter of going from coarse to smooth, so remove any stubborn scratches with a medium or coarse file first, and then smooth with a fine file to prepare the surface for the next stage.
Time-consuming sandpaper polishing
The use of wet and dry sandpaper or emery paper is one of the most time-consuming phases of the entire polishing process, requiring a steady progression from coarse to smooth, from about 500 grit to 1200 grit. While there are no shortcuts, there are some products that will make your job easier.
Micromesh
Micromesh is a padded abrasive material that is flexible and self-leveling, thus avoiding unwanted scratches from some of the coarser grits. The flexible fabric backing will not tear and because of the spacing between the grits, it does not create excessive waste. It is washable and reusable, making it extremely cost effective. The stiffer backing material allows you to apply more pressure while working, ultimately speeding up the job, so these are very handy consumables.
Shortcuts to detailed work
After the emery paper stage, it is perfectly acceptable to barrel polish fine parts using a mixture of steel shot and polishing compounds (e.g. polishing powder) to achieve satisfactory results. There are a few golden rules to keep in mind:
- Do not overload the drum with workpieces as they may damage each other.
- Always make sure that any parts with holes in them are threaded with wire and secured to prevent the projectiles from jamming together internally.
- Never place a chain in a drum polisher without threading it through the wire and securing it.
- Do not attempt to barrel polish items with large areas of exposed metal as these items will be pitted by the polish and a good finish will not be obtained.
- Remember that more polishing powder does not equal a better finish. Follow the instructions closely or you may find foam spilling out of the top of the bucket.
Polishing wheel polishing demystified:
Simply put, buffing wheel polishing is divided into two stages: cutting and polishing.
Cutting
Cutting uses a rougher abrasive and a harder sanding wheel where you can remove any scratches left by the filing and wet/dry paper stages. The purpose of this is to pre-polish before final polishing. Ideally, you'll want to use a sewing wheel or felt wheel.
Polishing uses finer compounds and softer polishing wheels to grind metal to a high shine. Polishing wheels can be made from loose velvet, suede and super soft cotton.
Here is a list of points to keep in mind:
- Polish is applied to the polishing wheel while it is spinning, not while it is stationary. Simply push the polishing strip into the lower half of the wheel while holding it firmly for a second or two.
- Always use the lower half of the polishing wheel to polish the workpiece so that if the workpiece flies out of your hand, it goes to the back of the machine and not across the room.
- If you find black sludge all over the metal, there is too much polish on the mop. Wash the metal piece in warm soapy water to remove the dirt and continue using it.
- Any small or intricate items, such as chains, can be held against a flat piece of wood or mandrel to make them easier to polish when heated. (Make sure they are flush with the surface in case the wheel catches them).
- Although tempting, never wear gloves when polishing as this can be a safety hazard. If your fingers need protection from heat, use finger protection tape or finger protection leather.
Hopefully this has given you an idea of how to achieve flawless results using the right techniques.


0 commenti