Jewelry holds personal meaning, whether it's an heirloom passed down through generations or a favorite accessory that you simply can’t live without. When a cherished piece breaks, the thought of discarding it can be disheartening. The good news is that many common jewelry issues can be fixed at home with a little know-how, the right tools, and some patience. In this guide, we’ll explore practical methods and essential tips for repairing broken jewelry pieces.
Why Repair Your Jewelry?
Before diving into the techniques, consider these reasons for taking on repairs yourself:
- Sentimental Value: Preserve memories attached to family heirlooms or special gifts.
- Cost Savings: Professional repairs can be expensive, so learning to fix your own pieces can save money.
- Customization: DIY repairs allow you to update or modify pieces to match your personal style.
- Sustainability: Repairing broken jewelry reduces waste and gives your items a new life.
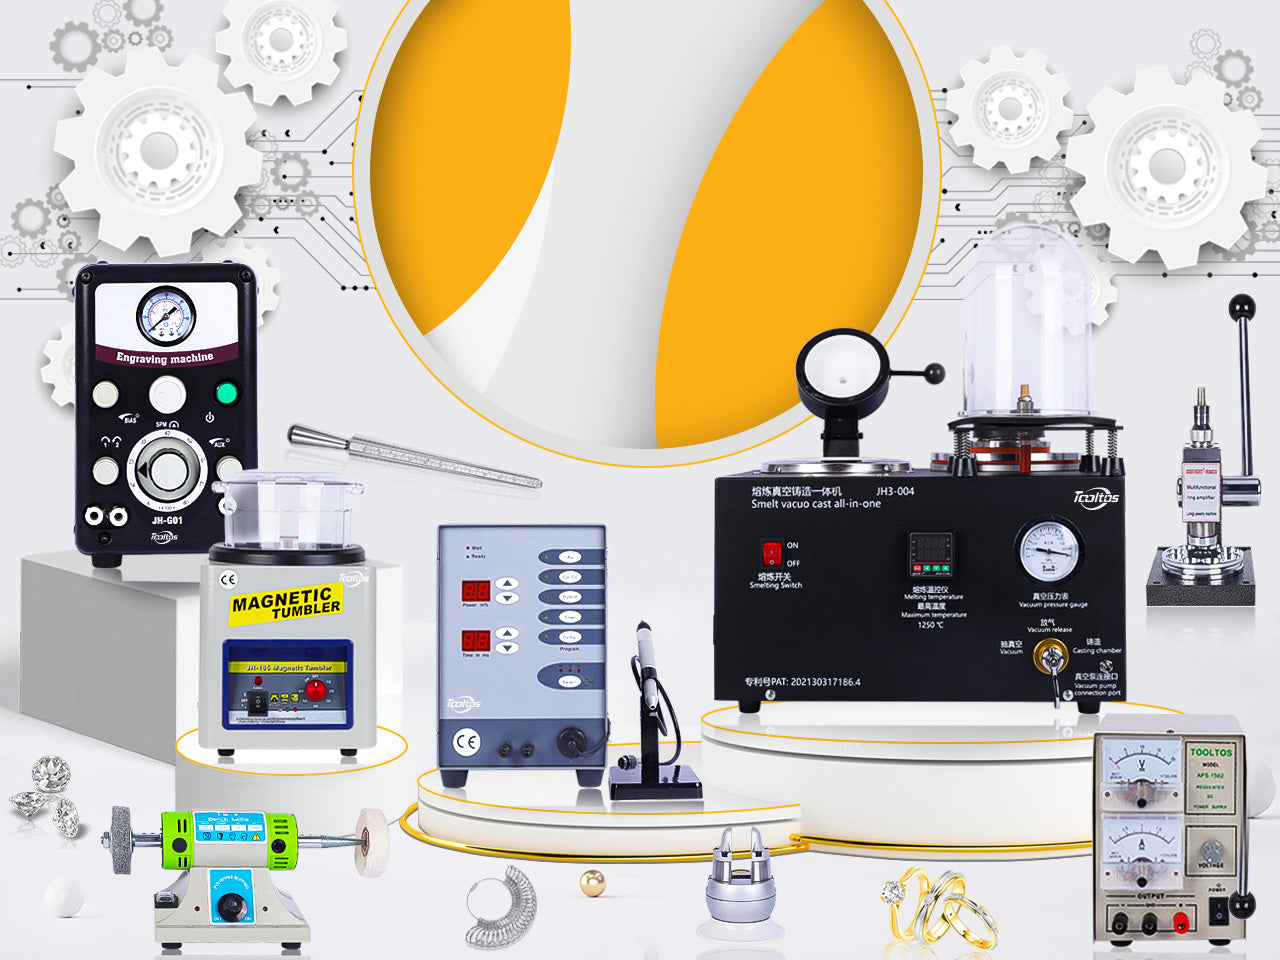
Essential Tools and Materials
To get started, here are some basic tools and supplies that can help you tackle common repairs:
- Jewelry Pliers and Cutters: For opening and closing jump rings, removing broken clasps, and reshaping wires.
- Soldering Torch and Solder: For joining metal pieces (for sterling silver, use silver solder) if you’re comfortable with heat work.
- Adhesives: High-quality jewelry glue (like Devcon 5 Minute Epoxy) is ideal for reattaching loose stones or fixing non-structural parts.
- Ring Mandrel and Rawhide Mallet: Useful for resizing and reshaping rings.
- Polishing Cloths and Compounds: To restore shine after repairs.
- Magnifying Glass or Jeweler’s Loupe: To inspect tiny details and ensure precise work.
- Safety Gear: Safety goggles, gloves, and a well-ventilated workspace are essential, especially when soldering.
Common Jewelry Repairs and How to Do Them
1. Replace a Broken Clasp
Issue: Necklaces and bracelets often break at the clasp due to frequent use.
Solution:
- Use needlenose pliers to open the jump ring attached to the clasp.
- Remove the damaged clasp and replace it with a new one of similar size and style.
- Close the jump ring securely to ensure a stable connection.
2. Restring or Knot a Broken Necklace
Issue: Beading wire may break or knots may come undone in a necklace.
Solution:
- Remove the broken wire carefully while keeping the beads in order (using a bead board can help).
- Cut a new piece of beading wire to the appropriate length, re-string the beads, and secure the ends with fresh crimp beads.
- Use flat-nosed or specialized crimping pliers for a neat finish.
3. Repair an Elastic Bracelet
Issue: Elastic bracelets can snap or lose their knot over time.
Solution:
- Replace the old elastic with a new, durable elastic cord.
- Restring the beads carefully, tie a secure knot (a surgeon's knot works well), and apply a small amount of cement glue to keep the knot from loosening.
4. Fix Broken Earring Wires
Issue: Earring hooks, leverbacks, or screwbacks can become bent or break.
Solution:
- Use pliers to open the loop or jump ring that connects the broken earring finding.
- Remove the damaged part and replace it with a new hook or finding, ensuring that the connection is secure by carefully closing the ring.
5. Reshape or Resize a Ring
Issue: Rings can become misshapen or too small over time.
Solution:
- Place the ring on a ring mandrel and gently tap it with a rawhide mallet to restore its shape.
- To resize a ring, continue tapping around the ring while gradually rotating it until you reach the desired size.
- If the ring features gemstones, take extra care to protect the setting—consult a professional if the repair seems too risky.
6. Re-Glue a Missing or Loose Stone
Issue: Stones can become loose or fall out, affecting the piece’s overall look and value.
Solution:
- For cabochon stones with a flat back, carefully clean the area and reapply a strong jewelry adhesive.
- Press the stone firmly back into place and allow it to cure as per the glue manufacturer’s instructions.
- For settings like prong settings on faceted stones, professional repair is recommended to avoid damaging the delicate framework.
7. Untangle and Restore Chains
Issue: Chains often develop tangles or knots that can be difficult to untangle.
Solution:
- Lay the chain on a flat, well-lit surface and gently work through the tangle using tweezers or a fine pin.
- Apply a small amount of baby oil to loosen stubborn knots, then wipe clean after the chain is straightened.
Tips for Successful Repairs
- Practice First: Start with less valuable pieces or practice on scrap materials to build your confidence.
- Work Slowly and Carefully: Precision is key in jewelry repair; rushing can lead to further damage.
- Keep Your Workspace Organized: A tidy, well-lit area will help you focus on intricate details.
- Know When to Seek Professional Help: Some repairs, particularly those involving delicate stone settings or intricate soldering on precious metals, are best left to experts.
Conclusion
Repairing broken jewelry pieces not only preserves cherished items but also lets you infuse them with your personal touch. Whether you’re replacing a clasp, restringing a necklace, or re-gluing a lost stone, taking the DIY approach can be rewarding and cost-effective. With the right tools, a bit of practice, and careful attention to detail, you can breathe new life into your favorite pieces.
Have you tried repairing your own jewelry? Share your experiences and tips in the comments below, and let’s keep the art of DIY jewelry repair thriving!
Would you like to dive deeper into any specific repair techniques or need recommendations for where to source quality repair tools? Let us know!
0 commenti