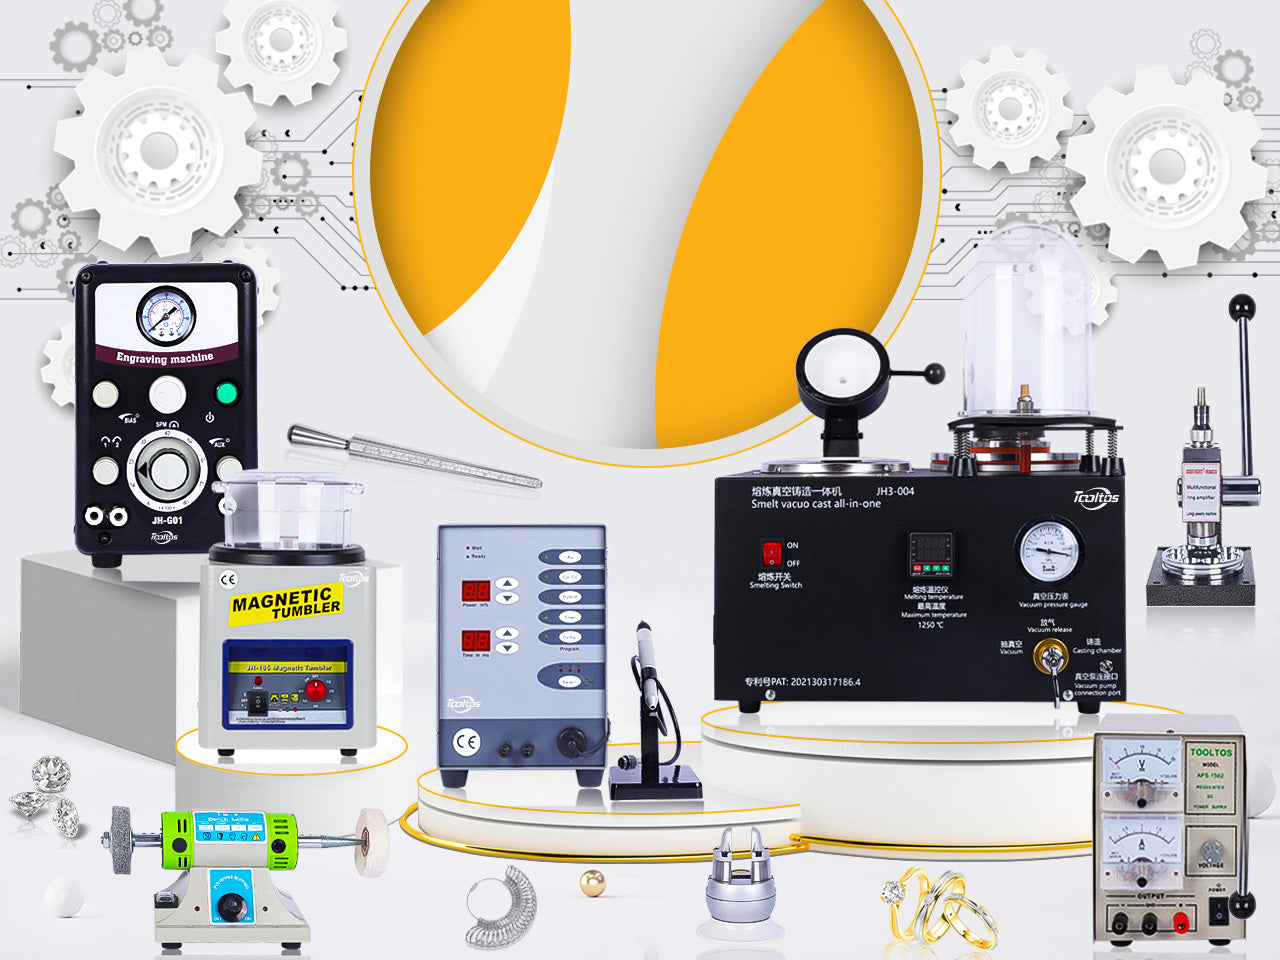
Melting metal is one of the most exciting aspects of jewelry making. Whether you're recycling scrap metal, creating custom pieces, or experimenting with designs, jewelry melting offers endless opportunities for creativity. If you're new to metal melting, these five beginner-friendly projects will help you develop your skills while creating beautiful, functional jewelry.
1. Recycled Silver Beads
Transform your scrap silver into elegant, handmade beads for necklaces or bracelets. This project is perfect for utilizing leftover silver wire or sheet pieces.
What You’ll Need:
- Scrap silver
- Butane torch
- Soldering board
- Tweezers
- Mandrel or bead mold
How to Do It:
- Clean your scrap silver to remove impurities.
- Place small pieces of silver on a soldering board.
- Heat the silver with a torch until it melts and forms a ball.
- Let it cool, then drill a hole through the center or use a mandrel to shape it.
2. Textured Pendants
Create unique, textured pendants by melting metal and pouring it onto a textured surface like sand or charcoal.
What You’ll Need:
- Scrap metal (silver, gold, or brass)
- Crucible
- Butane torch or furnace
- Textured surface (sand, charcoal, or a carved mold)
How to Do It:
- Melt your scrap metal in a crucible.
- Pour the molten metal onto the textured surface.
- Let it cool, then refine the edges and add a bail for a chain.
3. Simple Ingot Rings
Turn molten metal into a basic ingot and craft a sleek, modern ring.
What You’ll Need:
- Scrap metal
- Ingot mold
- Hammer and ring mandrel
- Polishing tools
How to Do It:
- Melt the scrap metal and pour it into an ingot mold.
- Once cooled, shape the ingot into a ring using a hammer and mandrel.
- Polish the surface for a smooth, professional finish.
4. Sand-Cast Charms
Use sand casting to create personalized charms or small sculptures with intricate designs.
What You’ll Need:
- Casting sand and frame
- Model or carved design
- Scrap metal
- Furnace or torch
How to Do It:
- Press your design into the casting sand to create a mold.
- Melt your metal and carefully pour it into the mold.
- Let the metal cool, then remove it from the sand and polish it.
5. Custom Alloy Creations
Experiment with melting different metals together to create custom alloys for unique jewelry pieces.
What You’ll Need:
- Metals to alloy (e.g., gold and silver for green gold)
- Crucible
- Furnace or torch
- Mold or ingot form
How to Do It:
- Weigh and combine the metals in the desired ratio.
- Melt them together in a crucible, stirring with a graphite rod to ensure even mixing.
- Pour the alloy into a mold and use it to craft jewelry.
Tips for Success
- Start Small: Begin with small quantities of metal to minimize waste and make mistakes manageable.
- Practice Safety: Always wear protective gear, including goggles and gloves, and work in a well-ventilated area.
- Use Flux: Add flux to prevent oxidation and improve the quality of your melt.
- Experiment: Don’t be afraid to try different textures, molds, and alloys to find your unique style.
Conclusion
Jewelry melting is an exciting way to breathe new life into scrap metal and create one-of-a-kind pieces. With these beginner projects, you can explore the art of metal melting while building confidence and skills. From simple beads to custom alloys, the possibilities are endless. Start melting and let your creativity shine!
Would you like more in-depth tutorials or recommendations for specific tools? Let me know!
0 commentaires