Injection waxing is a critical step in the jewelry casting process, serving as the foundation for creating intricate designs with precision and consistency. Whether you’re a seasoned jeweler or just starting out, understanding the nuances of jewelry injection waxing can elevate your craftsmanship. In this guide, we’ll explore the principles, tools, and techniques you need to master this essential skill.
What Is Jewelry Injection Waxing?
Jewelry injection waxing involves injecting molten wax into a mold to create a detailed wax model. This model serves as the template for casting metal jewelry through the lost wax casting process. The quality of the wax model directly impacts the final piece, making precision and technique crucial.
Essential Tools for Injection Waxing
To get started, you’ll need the following tools and materials:
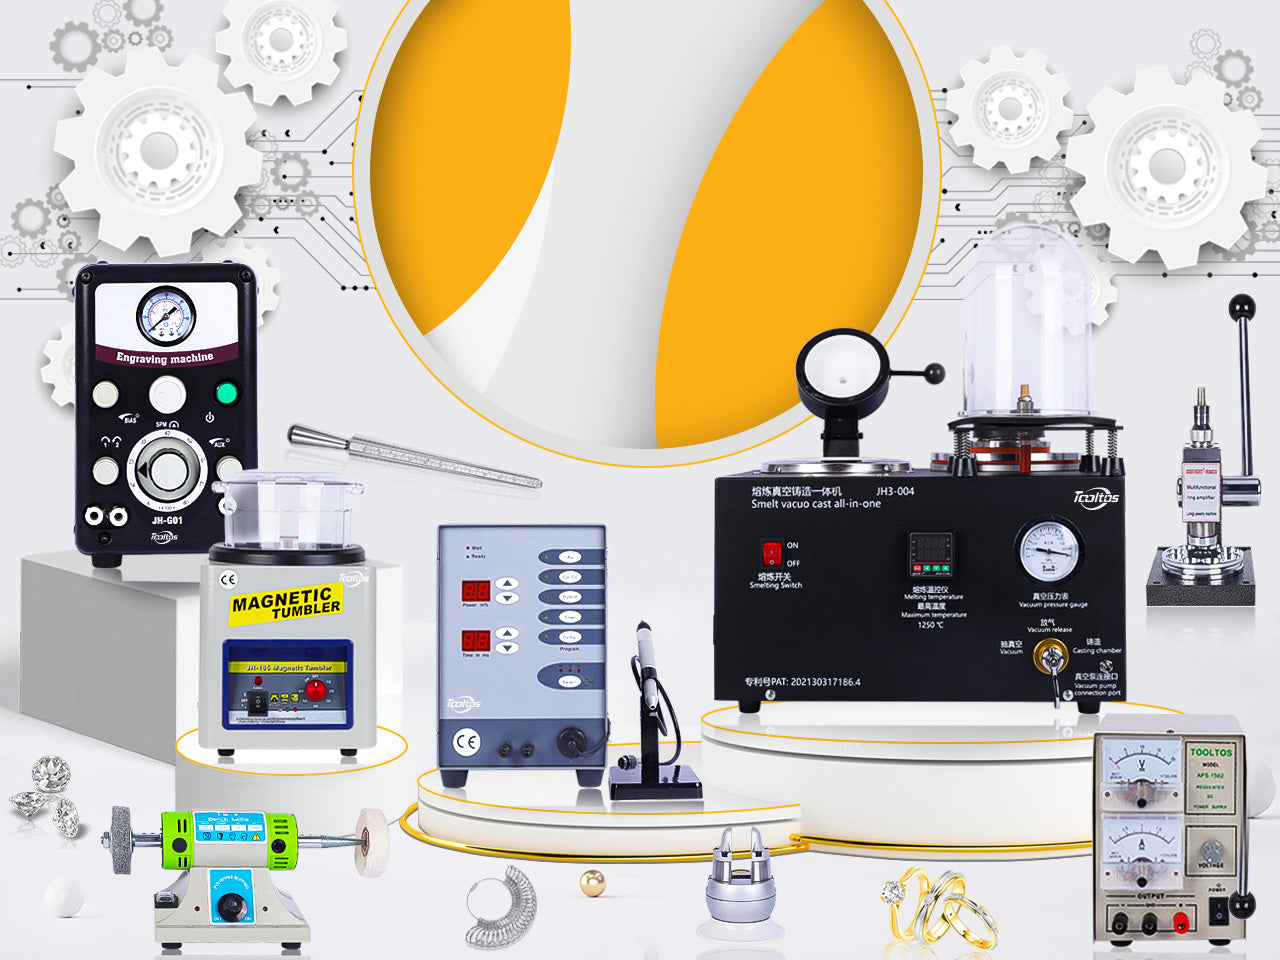
- Wax Injector: The primary tool for heating and injecting wax into molds.
- Injection Wax: Specially formulated wax for jewelry casting, available in various hardness levels and melting points.
- Rubber or Silicone Molds: Custom molds designed to replicate intricate designs.
- Mold Clamp or Frame: Ensures a secure seal during the injection process.
- Spatula or Wax Trimmer: For cleaning and refining wax models.
- Ventilation System: Keeps your workspace safe by removing fumes.
Step-by-Step Guide to Jewelry Injection Waxing
1. Prepare Your Mold
- Inspect the mold for cleanliness and integrity.
- Apply a thin layer of mold release agent to prevent wax from sticking and ensure smooth removal.
2. Heat the Wax
- Load the wax injector with your chosen injection wax.
- Heat the wax to the recommended temperature, typically between 140°F and 160°F, depending on the wax type.
3. Secure the Mold
- Place the mold into a clamp or frame to hold it firmly in place.
- Ensure the mold halves are aligned properly to prevent distortion in the wax model.
4. Inject the Wax
- Position the nozzle of the wax injector at the mold’s sprue opening.
- Apply steady pressure to inject the molten wax into the mold, filling it completely.
- Hold the pressure for a few seconds to allow the wax to settle and minimize shrinkage.
5. Cool and Remove
- Allow the wax to cool and solidify before opening the mold.
- Carefully remove the wax model to avoid damage.
6. Refine the Model
- Trim excess wax from the model using a spatula or trimmer.
- Inspect for imperfections and make any necessary touch-ups.
Pro Tips for Perfect Wax Models
- Temperature Control: Maintain consistent wax and mold temperatures to prevent warping or bubbles.
- Wax Type: Choose the right wax for your project—soft waxes are ideal for intricate designs, while harder waxes work well for durability.
- Pressure Settings: Adjust the pressure on your wax injector to match the complexity of your mold.
- Vent Placement: Ensure your mold has adequate vents to allow air to escape during injection, reducing the risk of voids.
Common Challenges and Solutions
- Bubbles in Wax: Ensure your wax is free from moisture and air by degassing it before injection.
- Incomplete Fill: Check for proper alignment of the mold and increase injection pressure if necessary.
- Warped Models: Allow wax models to cool slowly in a controlled environment to prevent distortion.
Applications of Jewelry Injection Waxing
Injection waxing is used for:
- Creating prototypes for custom designs.
- Producing multiple identical pieces for production runs.
- Replicating intricate patterns and textures with high accuracy.
Why Master Injection Waxing?
Perfecting the art of jewelry injection waxing enables you to:
- Reduce waste by minimizing casting errors.
- Save time by creating precise wax models on the first attempt.
- Achieve unparalleled detail and consistency in your jewelry designs.
Conclusion: Building a Strong Foundation
Jewelry injection waxing is more than a step in the casting process—it’s the cornerstone of exceptional craftsmanship. By investing time in mastering this technique, you’ll gain greater control over your designs and produce stunning pieces that stand out.
Ready to enhance your skills? Share your favorite waxing tips or ask questions in the comments below. Let’s make your jewelry-making journey as smooth as your wax models!
0 Kommentare