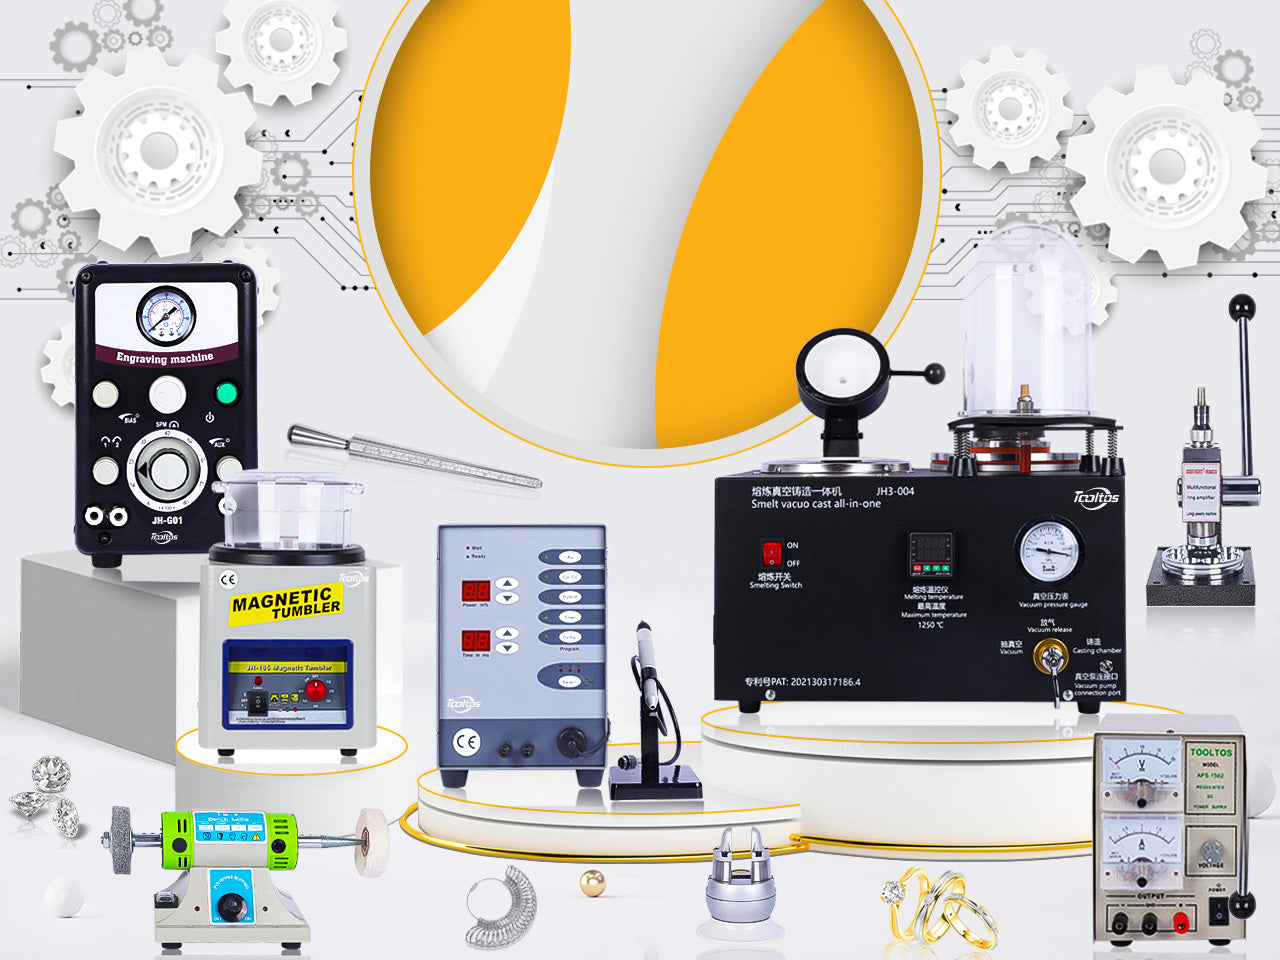
Engraving metal is a versatile technique for adding intricate designs, personalization, and detail to jewelry pieces. Whether you're creating custom jewelry, decorative accents, or monograms, there are several methods to achieve professional-quality engraving. Here are four practical ways to engrave metal, each offering unique advantages depending on your tools, skills, and project needs.
1. Hand Engraving
Hand engraving involves manually cutting designs into the metal using specialized tools called gravers. This traditional method allows for precise, detailed work and a truly handmade touch.
Tools Needed:
- Gravermaster or hand gravers
- Bench pin for stability
- Engraving block or vice
- Magnifying tools for detail work
Best For:
- Intricate designs, lettering, and monograms
- Unique, custom engravings with artistic flair
Pros:
- High level of craftsmanship and uniqueness
- No need for electricity or specialized machinery
Cons:
- Time-consuming and requires significant skill
- Steeper learning curve for beginners
Tips:
- Practice on scrap metal to build your skills before working on valuable pieces.
- Keep tools sharp for cleaner cuts.
2. Rotary Tool Engraving / Pneumatic Engraver
The use of rotary tools with engraving heads (e.g. Dremel) / pneumatic engraver is easier and faster than hand engraving. This technique is ideal for beginners and intermediate jewellers.
Tools Needed:
- Rotary tool with engraving bits / Pneumatic engraver
- Rotary tool/pneumatic engraver with engraving bits
- Masking tape for design guides
- Safety goggles and gloves
Best For:
- Simple designs, outlines, and decorative textures
- Adding quick engravings to jewelry pieces
Pros:
- Faster than hand engraving
- Versatile tool with multiple uses beyond engraving
Cons:
- Less precision than hand or laser engraving
- Can leave rough edges if not controlled properly
Tips:
- Use masking tape to draw or trace your design on the metal surface.
- Maintain a steady hand and light pressure to avoid over-cutting.
3. Etching with Chemicals
Chemical etching uses acid or etching solutions to engrave designs into metal. It’s a great option for creating intricate designs or repeating patterns.
Tools Needed:
- Etching solution (e.g., ferric chloride for copper/brass or nitric acid for silver)
- Resist material (vinyl stickers, wax, or permanent marker)
- Protective gear (gloves, goggles, apron)
Best For:
- Repetitive patterns and detailed designs
- Creating deep, textured engravings
Pros:
- Allows for precise, detailed designs
- Ideal for mass production with reusable stencils
Cons:
- Requires careful handling of chemicals
- Time-intensive process
Tips:
- Always work in a well-ventilated area and follow safety guidelines.
- Use tape or resist to define clear boundaries for your design.
4. Laser Engraving
Laser engraving uses a laser beam to vaporize the metal surface, creating clean and precise engravings. It is commonly used for professional-quality results.
Tools Needed:
- Laser engraving machine
- Computer for design setup
- Ventilation or exhaust system
Best For:
- High-precision designs, logos, and text
- Commercial or high-volume engraving projects
Pros:
- Extremely accurate and consistent results
- Minimal risk of damaging the metal surface
Cons:
- Expensive initial setup for machinery
- Requires technical knowledge to operate
Tips:
- Ensure your design software is compatible with the laser machine.
- Experiment with different settings to achieve desired depths and finishes.
Choosing the Right Method
The best engraving method depends on your project’s scale, detail, and the tools available. For intricate, artisanal work, hand engraving shines. For speed and accessibility, rotary tools are a great option. If you’re after fine detail or mass production, consider chemical etching or laser engraving.
By mastering these techniques, you can add distinctive designs to your metalwork, elevating the quality and personalization of your creations. Whether you're a hobbyist or a professional jeweler, engraving opens up endless creative possibilities.


0 Kommentare